Servlet Application with Eclipse on Jboss
Download Eclipse from below location: https://www.eclipse.org/downloads/index.php
Open Eclipse and Check if Jboss server plugin is there or not in eclipse: In server tab-Right Click ->New->Server
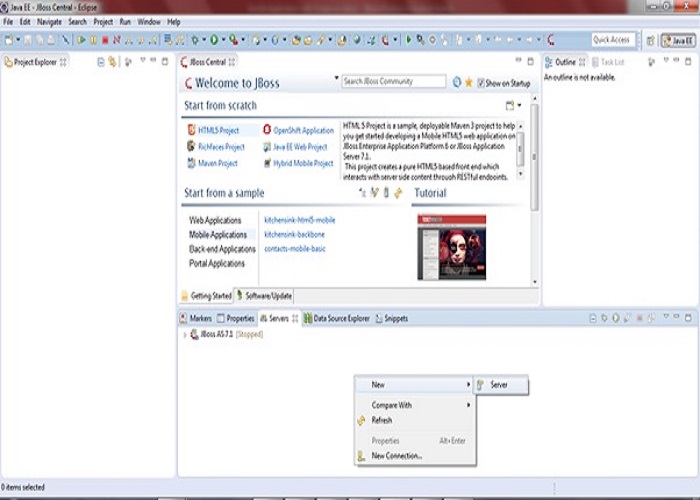
Next Check for Jboss:
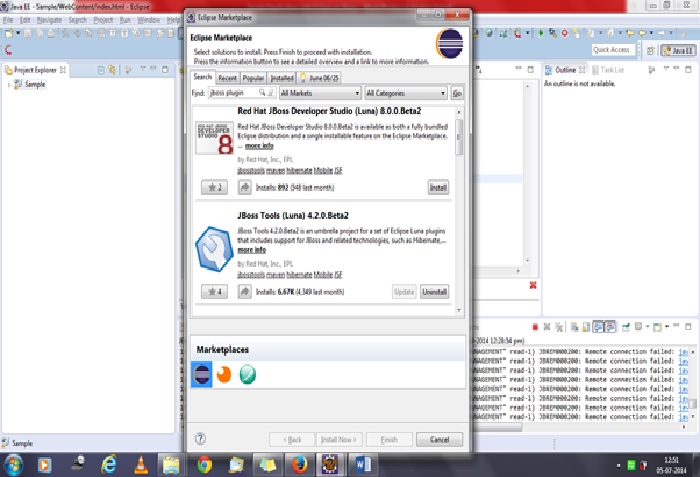
If Jboss is not there then: In Eclipse Help-> Eclipse Market and search for jboss plugin. Then select the jboss plugin tool and install.
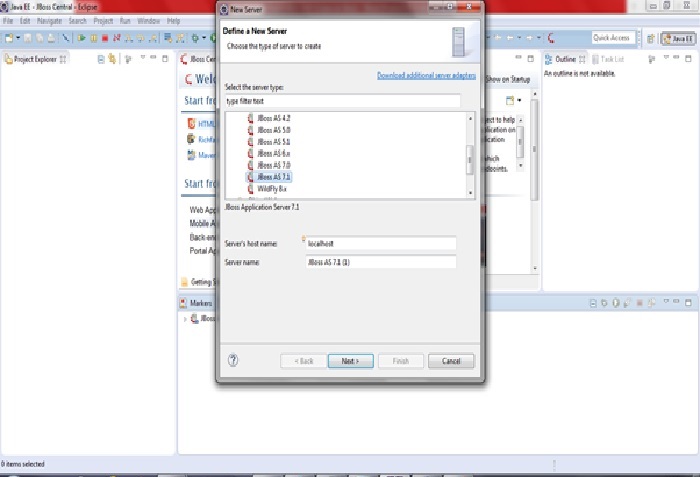
If jboss plugin is there then select server version and next and then:
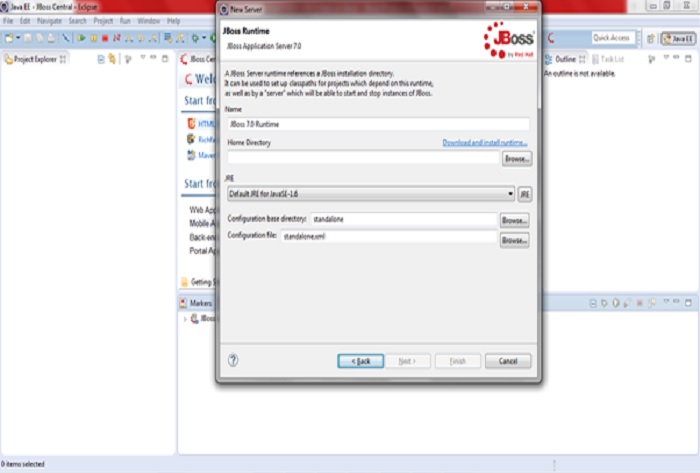
Specify Jboss Home Directory of selected version else click on Download and install runtime and follow the steps to accept license and download the jboss. Once download finishes. Home Directory path will get configured automatically and then click on finish. Now your eclipse is ready with Jboss for web application development.
Create Servlet Web Application:
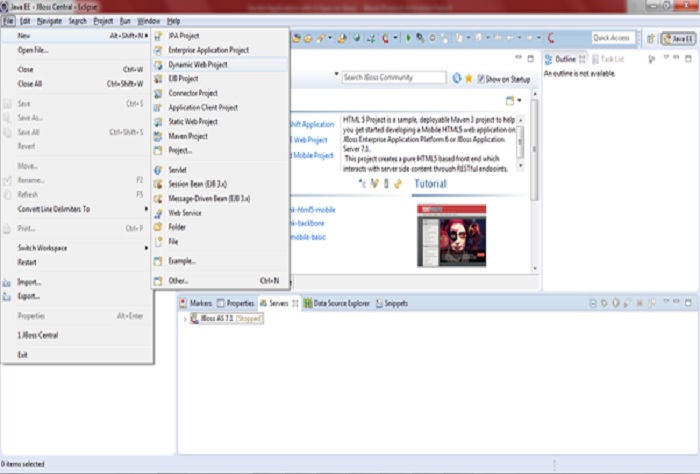
Go to File->New->Dynamic Web Project:
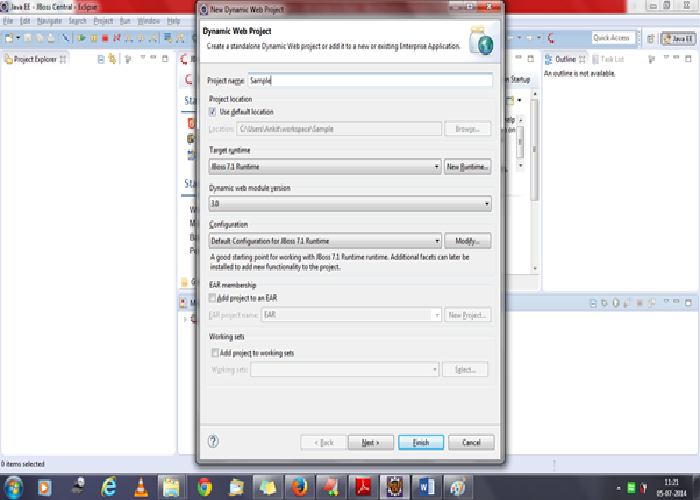
Specify the Project Name: Sample
Click on next->next and then select check box for generate web.xml:
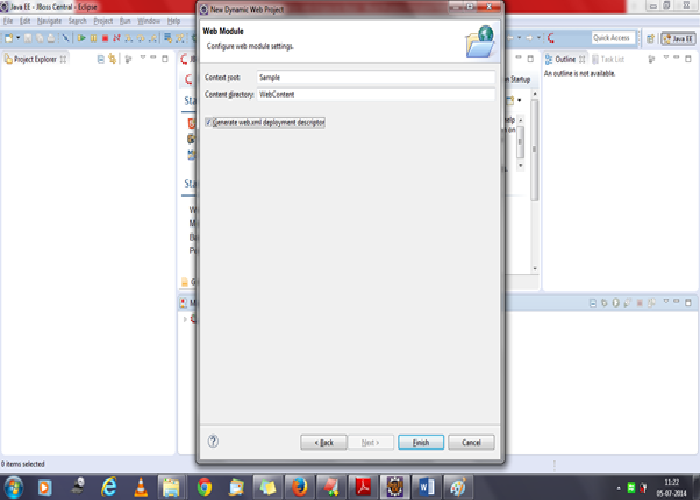
Click on finish and Sample Project is created (You can see in Project Explorer). Expand the Project in Project Explorer:
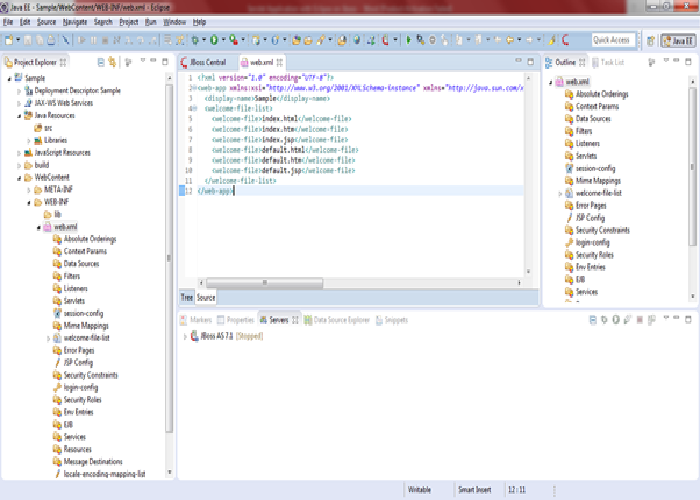
Now create index.html file: Right Click on WebContent->New->Html File
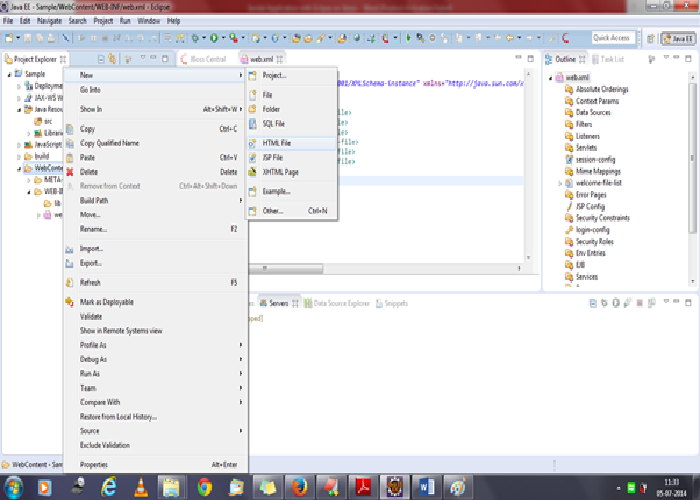
Specify Name: index.html and Finish.
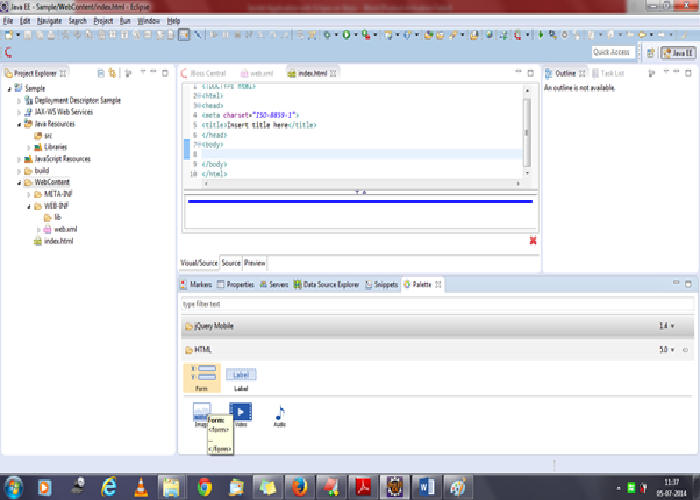
Add below snippet in body tag of your html:
<form action="ServExample" >

    Name:<input type="text" name="name"/><br>/<br/>

    <input type="submit" value="Submit"/>

    </form>
Now your index page is ready. Letís create Servlet: Right Click src folder of project->New->Servlet
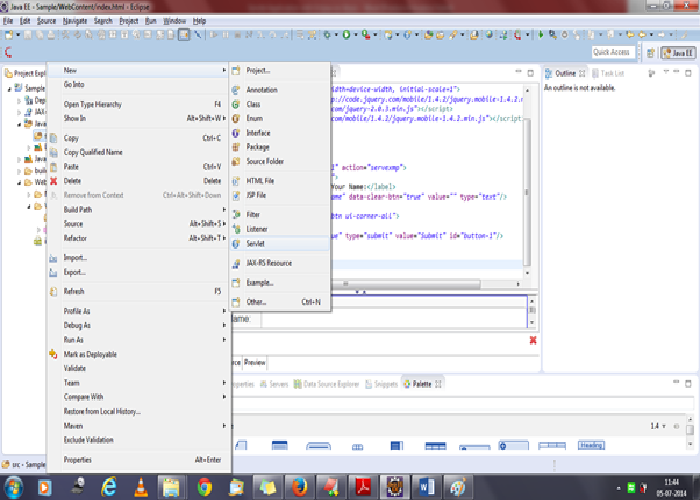
Specify the name: ServExample and follow the instruction and then finish. Add below code snippet in your doGet Method of servlet:
String name = request.getParameter("name");
		response.setContentType("text/html");
		PrintWriter pw = response.getWriter();
		pw.println("Hello: "+name);
		pw.close();
Add below code in web.xml:
<servlet>
        <servlet-name>ServExample</servlet-name>
        <servlet-class>ServExample</servlet-class>
</servlet>
<servlet-mapping>
        <servlet-name>ServExample</servlet-name>
        <url-pattern>/ServExample</url-pattern>
</servlet-mapping>
Now Run the project on server. Right Click on Project and Run on server. Project will get deployed on server and index.html file will run as it is specified as welcome file in web.xml:
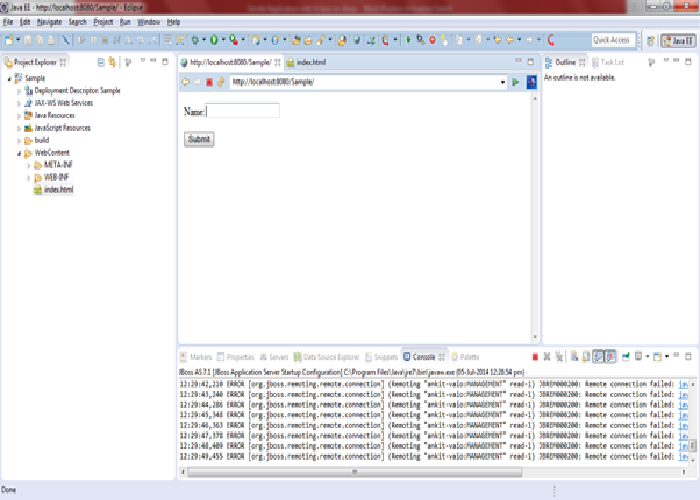
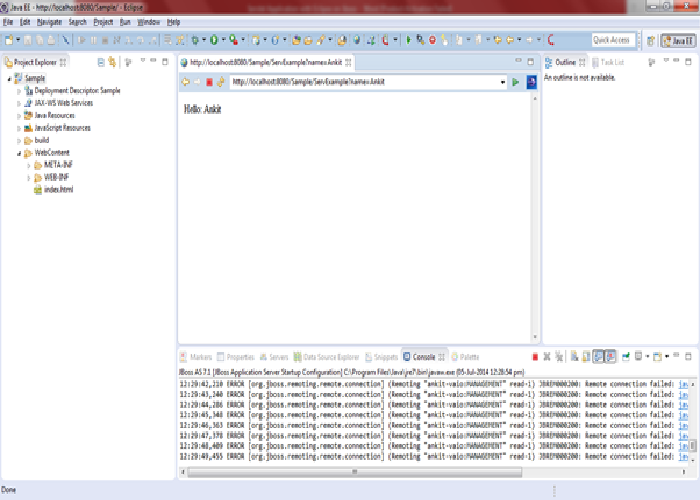
Enter Name: Ankit and Click on submit:
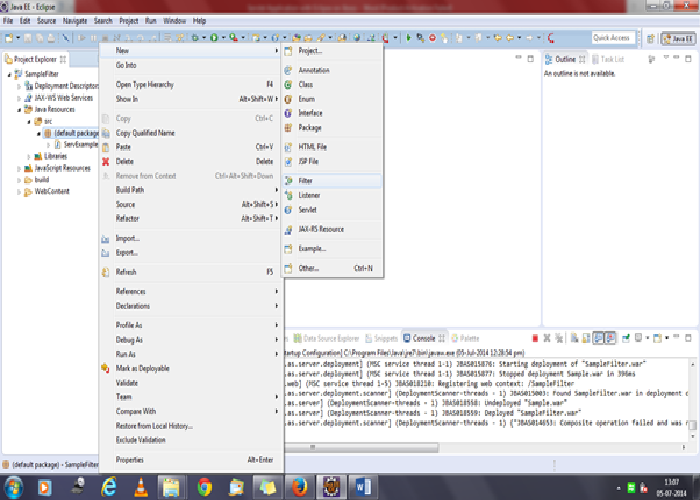
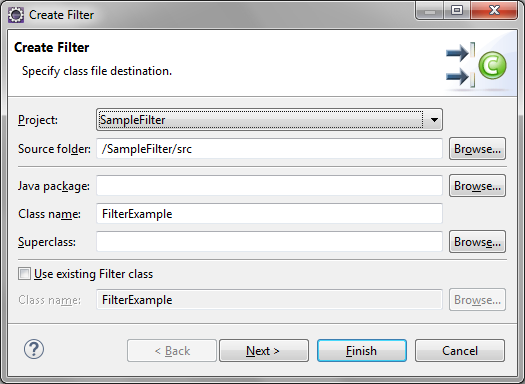
Filter Example: Create Logging Filter in the above Project:
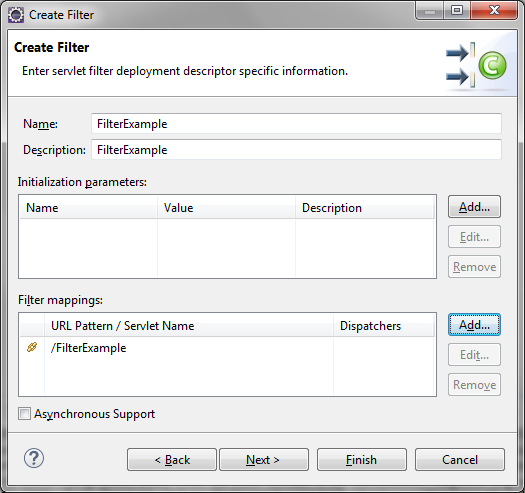
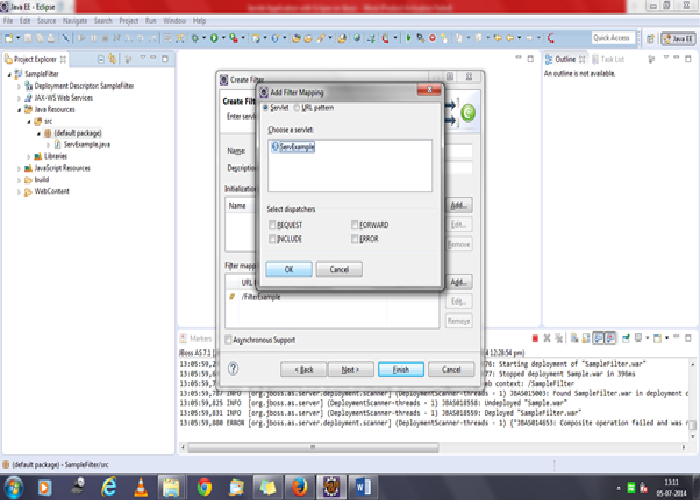
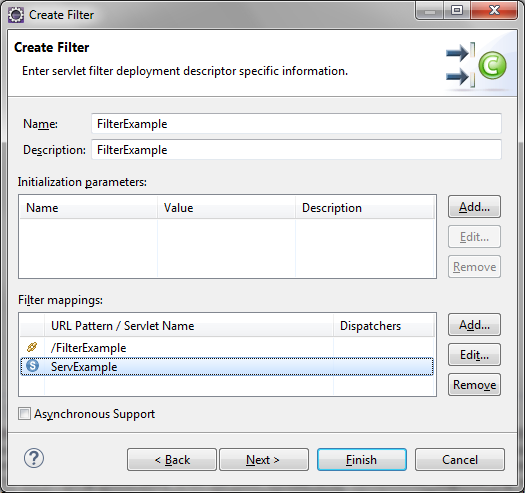
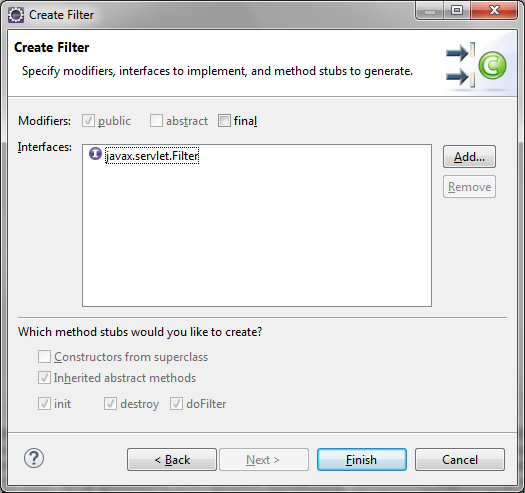
Now add below code snippet in Filter doFilter Methdod:
PrintWriter pw = response.getWriter();
	String name = request.getParameter("name");
	 response.setContentType("text/html");
	 if(name.equalsIgnoreCase("Ankit")){
	   // pass the request along the filter chain
	 chain.doFilter(request, response);
	 }
	 else{
	   pw.write("Incorrect Name. Please enter valid name");
	 }
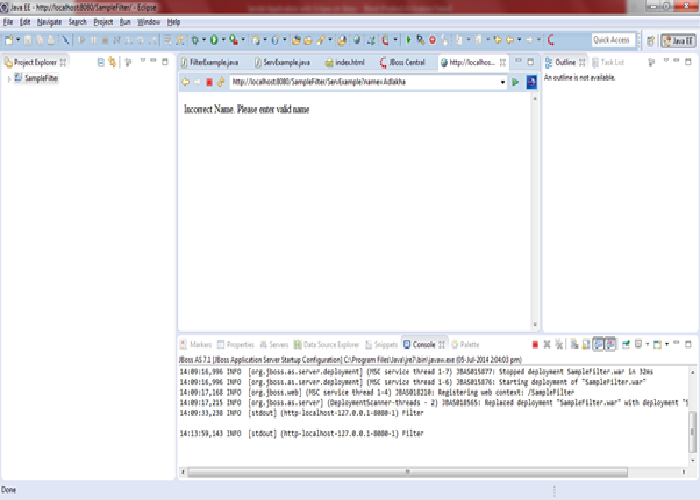
Here Filter will check if name is Ankit then only pass the request to servlet else return from Filter itself. Add below code snippet in web.xml:
<filter>
<filter-name>FilterExample</filter-name>
<filter-class>FilterExample</filter-class>
</filter>

<filter-mapping>
<filter-name>FilterExample</filter-name>
<url-pattern>/ServExample</url-pattern>
</filter-mapping>
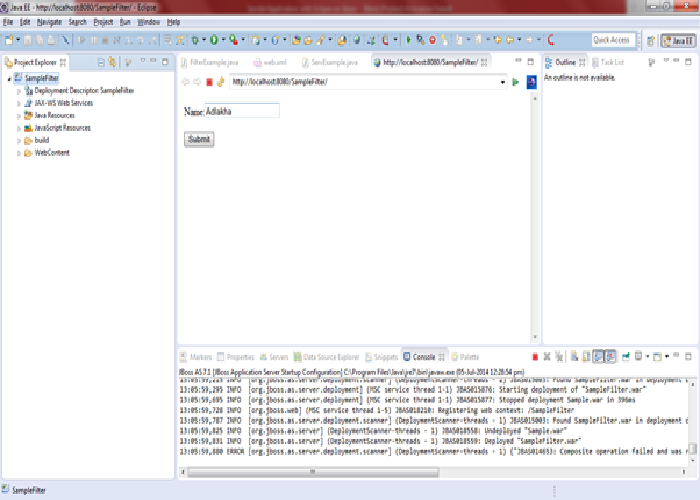
Now run your application and enter: Adlakha and submit:
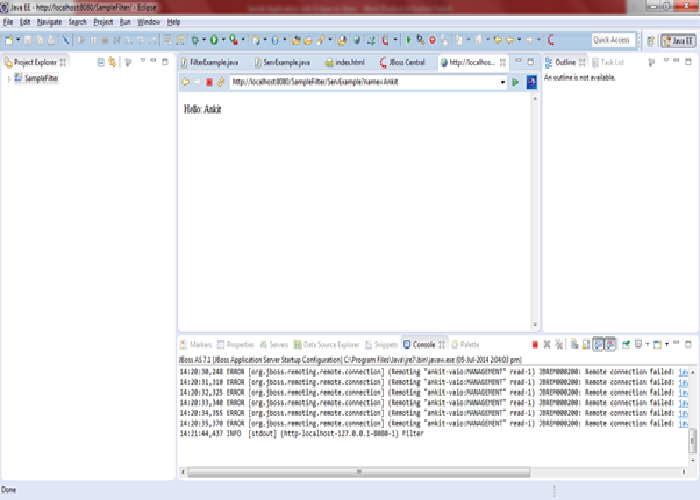
Now run application again and enter name as : Ankit
